Building Custome Image for Raspberry Pi Zero W Using Buildroot.
Using docker as my build environment Windows | Docker Docs
Connect to docker using exec mode or through ssh client and download buildroot
git clone https://github.com/buildroot/buildroot.git
Buildroot is a tool used for creating customized embedded Linux systems. It automates the process of cross-compiling and assembling the Linux kernel, bootloader, root filesystem, and user-space applications for embedded devices.
cd buildroot
In Buildroot, a defconfig (short for default configuration) is a predefined configuration file that serves as a baseline setup for building an embedded Linux system. It specifies the essential settings, including the target architecture, toolchain, kernel, bootloader, and required packages.
Default configuration for wide verity of boards can be found at /buildroot/config folder. I'm using raspberrpi0w defconfig
Inside the buildroot directory run the below command.
make raspberrypi0w_defconfig
Now the default configurations are set now we'll move on the customization part. In this notes we'll be focusing on building a barebones linux build with no GUI but we'll be configuring the adding the WIFI support for pi0w so access through SSH.
From the buildroot directory run the below command.
make menuconfig
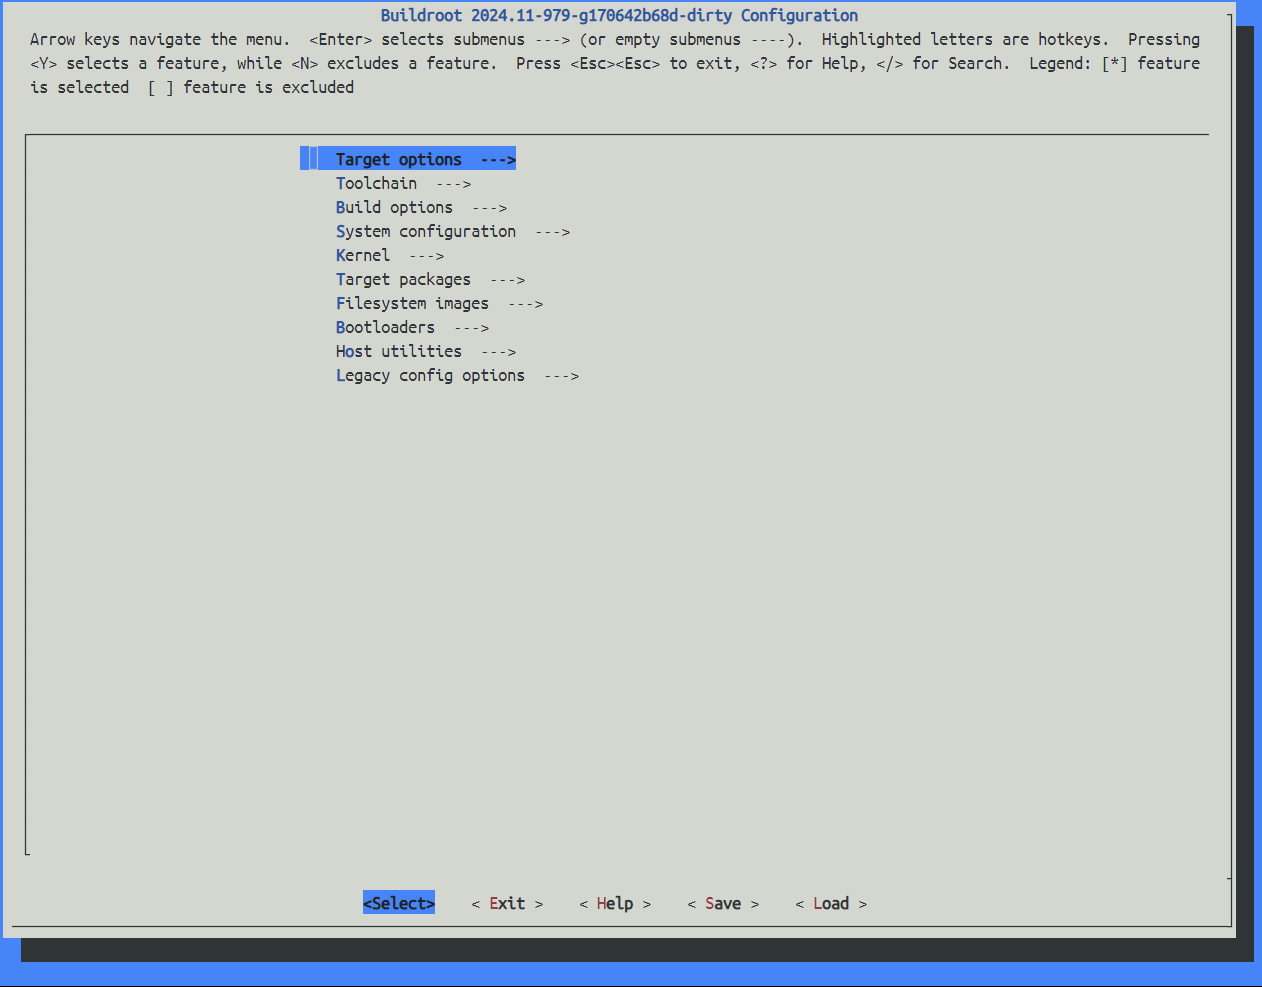
All the customization can be done using the menu presented above.
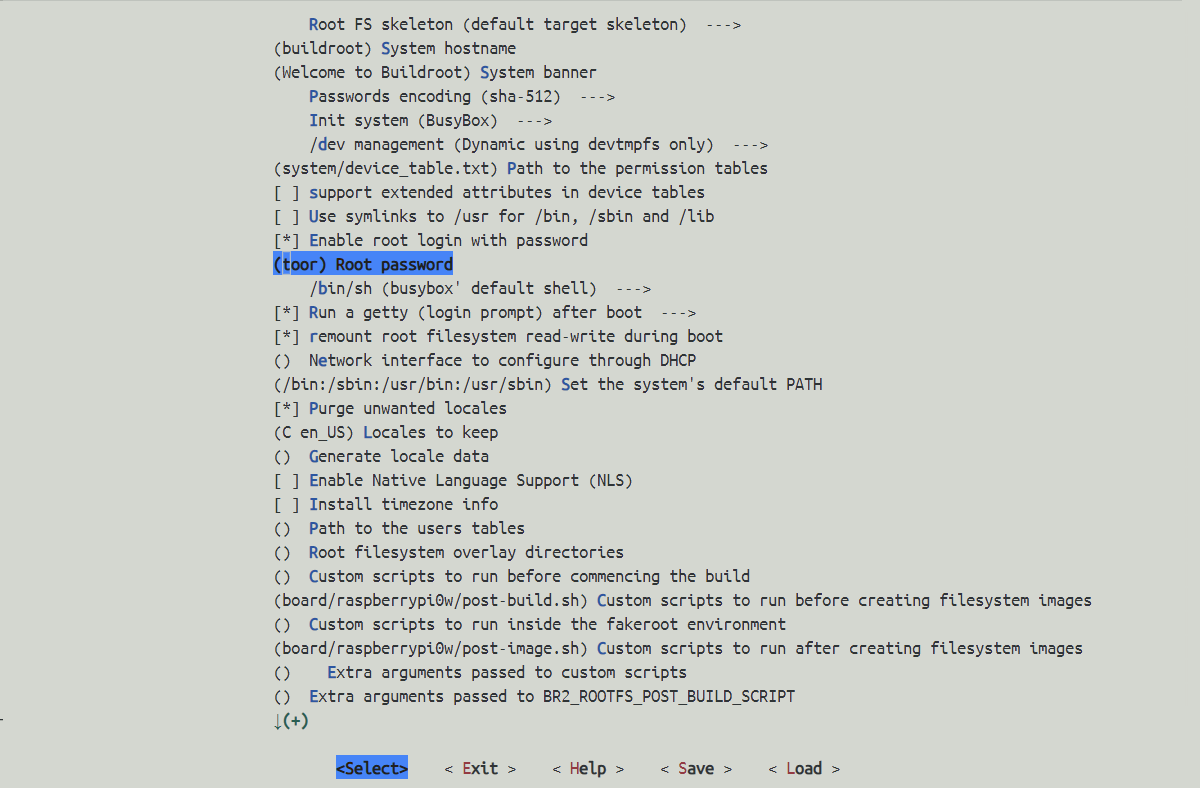
Lets start with creating a root users password for our costume build.
Navigate to "system Configurations" and go to root password. Hit enter and set the root password.
Navigate to "Target packages" and select the required packages for your linux build.
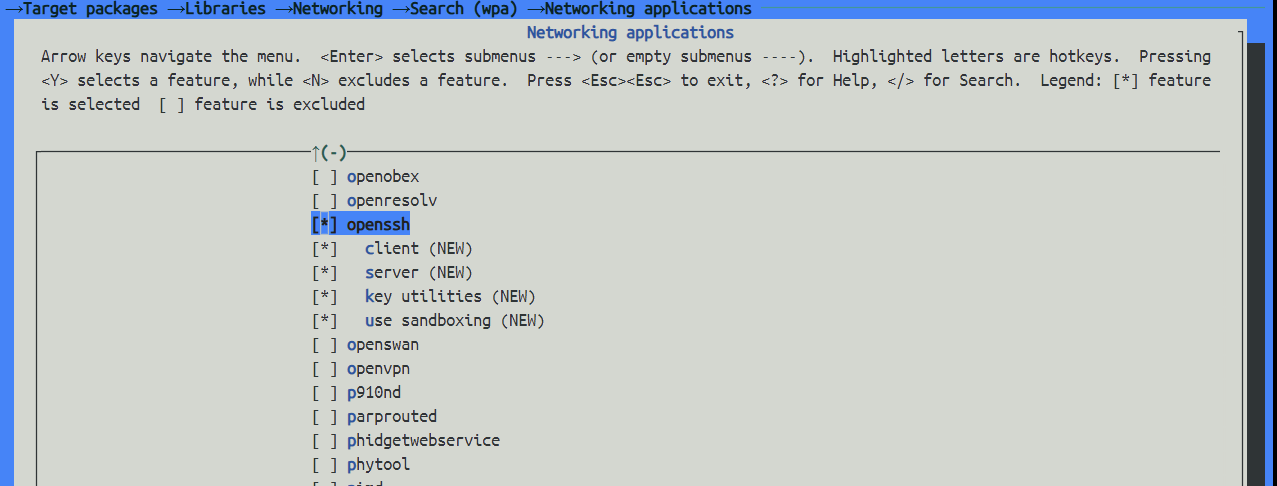
I'm selecting OpenSSH, python3 interpreter, pigpio and wpa_supplicant for WIFI.
Save the configuration and run
make -j8
The build process with start now and depending on the selected packages its going to take couple of minutes to hours to build the linux image based on your machines specs.
Once the build process is completed you should have a sdcard.img image file which we can flash on the raspberry pi sdcard.
/buildroot/output/images/sdcard.img